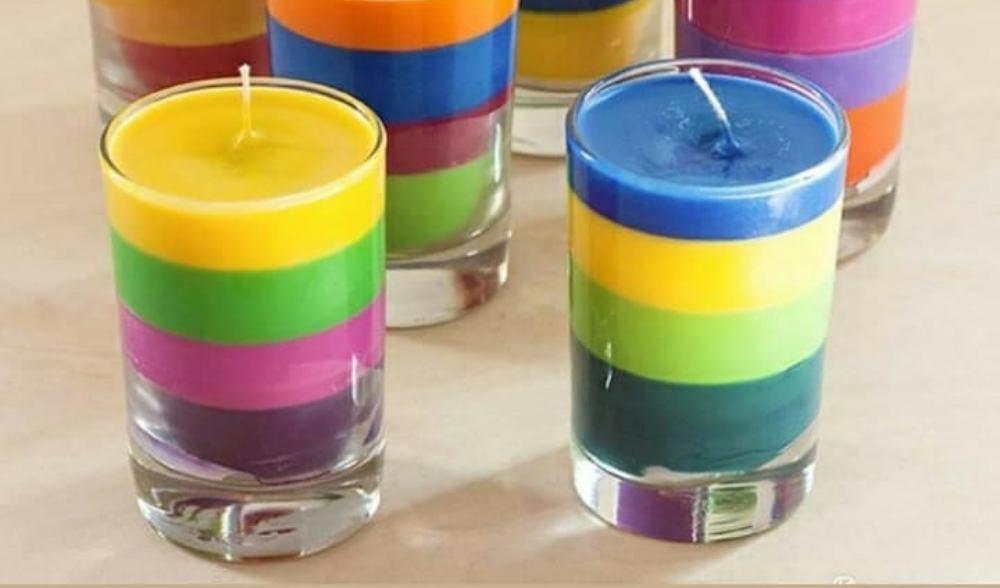
Candles are the perfect way to create ambiance in your home and make it smell good as well! They make a fantastic gift idea for any occasion and are a great addition to any room in your house. Making DIY candles allows you to get creative, get a little messy, and make something uniquely your own. You can play with a variety of scents, waxes, colors, accessories, and molds. There is no limit to what you can create! Here is how you can create your very own DIY candles.
Materials
The main supplies you will need to make DIY candles are below:
Wax: Wax is the most critical ingredient to make your candle. You will need to purchase your wax from a trusted retailer, like Hobby Lobby, and if you use a Hobby Lobby Coupon, you can save even more. There are three main types of wax that you can use for your candle: soy, paraffin, or beeswax. Soy wax is a great, natural option for scented and colored candles, whereas beeswax is better for fragrance-free candles.
Wicks: You will also need a high-quality wick. You can get them in many different sizes, so make sure to choose the right size for your container.
Fragrance: Chances are you’re going to want your candle to smell nice. That is where the fragrance comes in. You can use a single fragrance oil, or mix multiple for a unique scent.
Accessories: If you want to put rose petals or sprigs of cedar or rosemary into your candle, then make sure you have those items on hand.
Container: Lastly, you’ll need containers to make your candles in. They can be as simple as an empty jam jar or something fun like old coffee mugs.
How to make your own DIY candle
Step 1: Prep your space
Making candles can be messy, so you’ll want to prep space effectively to minimize the amount of wax that ends up around your workspace. Cover your area with paper towels to make sure wet wax doesn’t get on everything since it can be hard to clean.
Step 2: Melt the wax
Next, you’ll need to use a double boiler to melt down your wax. For a container, the equivalent of a regular 8oz jar, you will want about half a pound of wax. It should take around 10 minutes for the wax to meltdown.
Step 3: Put in the wick
Place the wick into your chosen container and adhere it to the bottom. Some wicks may come with a sticky bit already attached. Otherwise, you can use superglue, or even use the melted wax itself.
Step 4: Add your fragrance
Once the wax has melted, start adding your essential oils into the mixture. A little goes a long way with fragrance, so you won’t need tons. A good rule of thumb is for every pound of wax that you use, you should include approximately 1 oz of fragrance.
Step 5: Pour the mixture into your chosen container
Lastly, add your wax into your chosen container. It’s good to allow the wax to cool down a little bit before pouring it into the container. When you’re pouring, hold onto the wick to keep it in place the whole time and then let your masterpiece cool.

